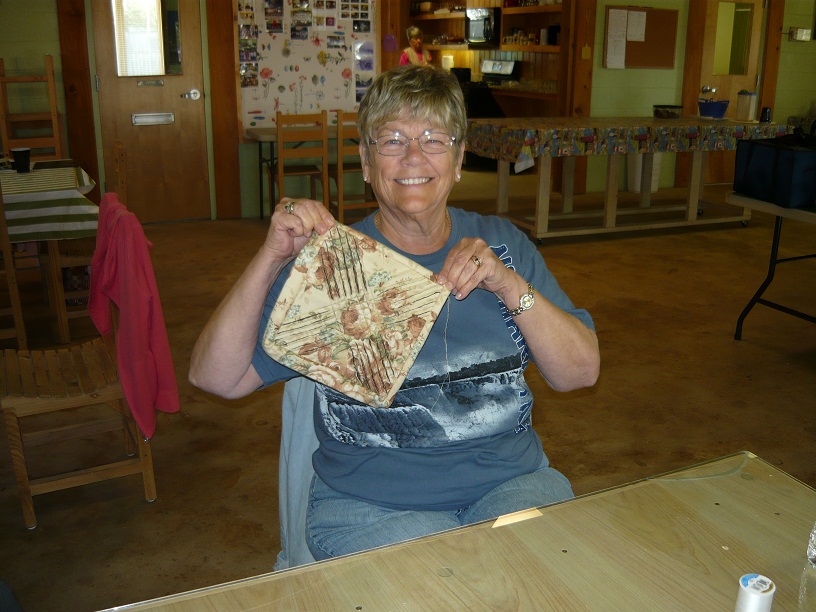
These directions are the best of my recollection from the class I took a few days ago. The instructor did not have written directions, so I've tried to recreate what we did in that class. I've also added a few of my own suggestions.
Starburst Hot Pad Tutorial
Materials:
Fabric A
Cut 12 – 3” x 4 1/2”
4 – 3 ½” x 3 ½”
Fabric B
Cut 8 – 3” x 4 ½”
Fabric C
Cut 8 – 3” x 4 ½”
Fabric D
Cut 8 – 3” x 4 ½”
Binding = Width of Fabric x 2 ¼”
Hanger = 1” x 5”
Backing = 10” x 10”
Foundation = 10” x 10”
Batting = 10” x 10”
Directions:
Cut fabrics. You can use any number of fabrics that you like – 2,3,4, or 5. These directions and photos show 4 fabrics. Fabric A was used for row 1 and row 4 in the sample. Row 1 uses 4 rectangles while all other rows use 8 rectangles. Careful measuring is very important in making the stars symmetrical.
Row 1
Step 1:
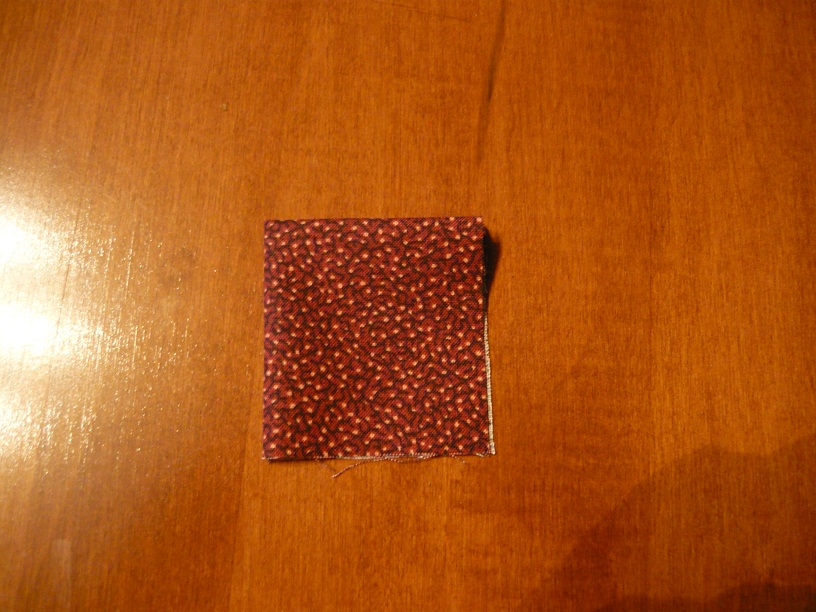
Take the 4 rectangles for the first row and press ½” along one long side of each rectangle
Then fold the pressed rectangle to form a square. Press again. This pressing line is used as the sewing line. You may want to draw a line down the middle of the rectangle for the sewing line instead of pressing.
Step 2:
Draw a line down the center of the foundation fabric from top to bottom (I’m using a scrap of brown fabric). Then draw a line across the center from left to right. Finally, draw diagonal lines from corner to corner, so that all of the lines cross at the center of the foundation. These lines will serve as guides when you begin sewing the star points.

Step 3:
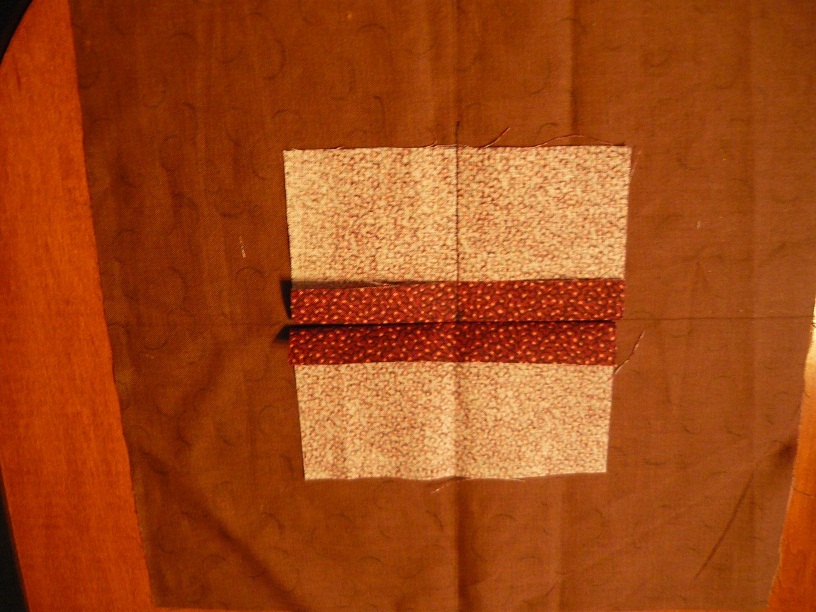
Place one of the Row 1 rectangles along one of the guidelines. Make sure that the center of the rectangle aligns with the center of the foundation, as shown in the next picture.
Stitch down the center of the rectangle. Use the fold line on the rectangle to align with the line drawn on the foundation fabric. Take a back stitch at the beginning of your sewing for reinforcement.
Step 4:
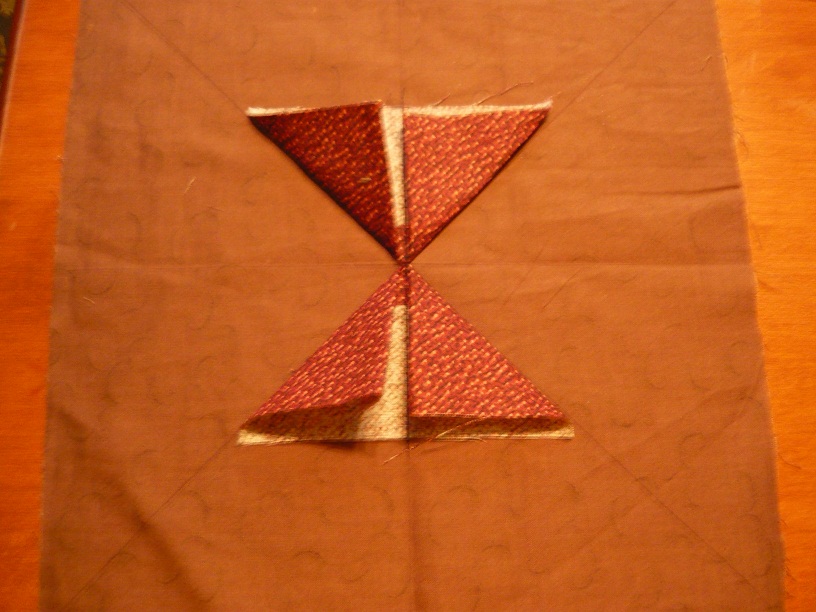
Place another rectangle above the 1st one and stitch down the center of the 2nd rectangle as shown below.
Fold as shown below.
Step 5:
Lay the 3rd rectangle as shown and sew down the center. Do the same with the 4th rectangle.
Then fold the 3rd and 4th rectangles the same as the first 2. Then press.
Your center should look like the photo below.
Step 6:
Place the foundation on the piece of batting and sew ¼” around the outer perimeter of the center pieces.
ROW 2
Step 1:
Measuring down the center of 1 of the pieces, place a row 2 rectangle ½” from the center as shown. Careful measuring is extremely important in making a symmetrical starburst.
Stitch down the center of this piece like you did in row 1.
Add the 2nd rectangle directly above the 1st one. Add the 3rd rectangle to the left of the 1st one & add the 4th rectangle directly across from the 3rd one. Your first 4 rectangles should look like the ones below.
Fold and press these pieces
 .
.
Step 2:
Add the 5th rectangle to row 2 as shown, making sure to place the rectangle ½” from the center.
Add the 6th, 7th, & 8th rectangles in the same manner as 3, 4, & 5.
Fold and press. You should now see the center star being formed.
Stitch 1/4” around the outside perimeter of Row 2. Stitching around the perimeter helps keep each row flat and in place.
Do Rows 3, 4, & 5 in the same manner as Row 2. Always start a row with a star point that was one of the first 4 in the last row. I don't know if that is clear, but if you look at the picture above, you can see that the last 4 star points sit on top of the first 4 in that row. Always measure ½” down from the inner star points for accurate placement. Remember to stitch the perimeter of each finished row.
Here is the completed Row 3:
Row 4:
Row 5:
Corner Squares
Step 1:
Draw a diagonal line on the back of each of the corner squares.
Step 2:
Place a square back side up on the block. Line up the top edge and the left edge of the square with a 4th row star point as shown below. Then stitch on the diagonal line.
Press down to form a corner triangle. Repeat for the other corners.
Step 3:
Stitch around the outer perimeter of the block. Check that you are satisfied with all of your star points. If not, rip out to the offending point and fix your problem now.
When you are satisfied, trim your block.
Finishing
Step 1:
Lay the block on the backing, wrong sides together. Stitch about 1/8” around the perimeter of the block. Trim the backing even with the block.
Step 2:
Press the binding down the middle of the long side. Attach the binding to the front side of the block. Do this the same way you normally put binding on your quilts.
Step 3:
Take the 1” x 5” hanger piece. Fold it down the middle (long ways). Then fold each long side to the middle. This makes a ¼” x 5” hanger. Press. Then stitch the long edges together.
Step 4:
Attach the hanger to a back corner of the hot pad as shown. Stitch about 1/8” inside the seam allowance.
Hand sew the binding to the back of the hot pad.
Here is the finished Starburst Hot Pad!