Saturday, October 23, 2010
Kindle case
I've been wanting to get a Kindle for a very long time, but the cost prevented me from doing so. Last month when the price went down to $139, my husband bought me one for my birthday. I had to wait nearly a month to get it because Amazon was inundated with orders and the Kindle was on back order. It finally arrived last week.
I am really enjoying it. I downloaded World Without End by Ken Follett which is a 1000 page book. Reading it on the Kindle is much better than holding the heavy tome in normal book format. I spent an hour or so and made a quilted case from 2 fat eighths to protect it.
Thursday, September 2, 2010
Mom's Mariner's Compass Quilt center
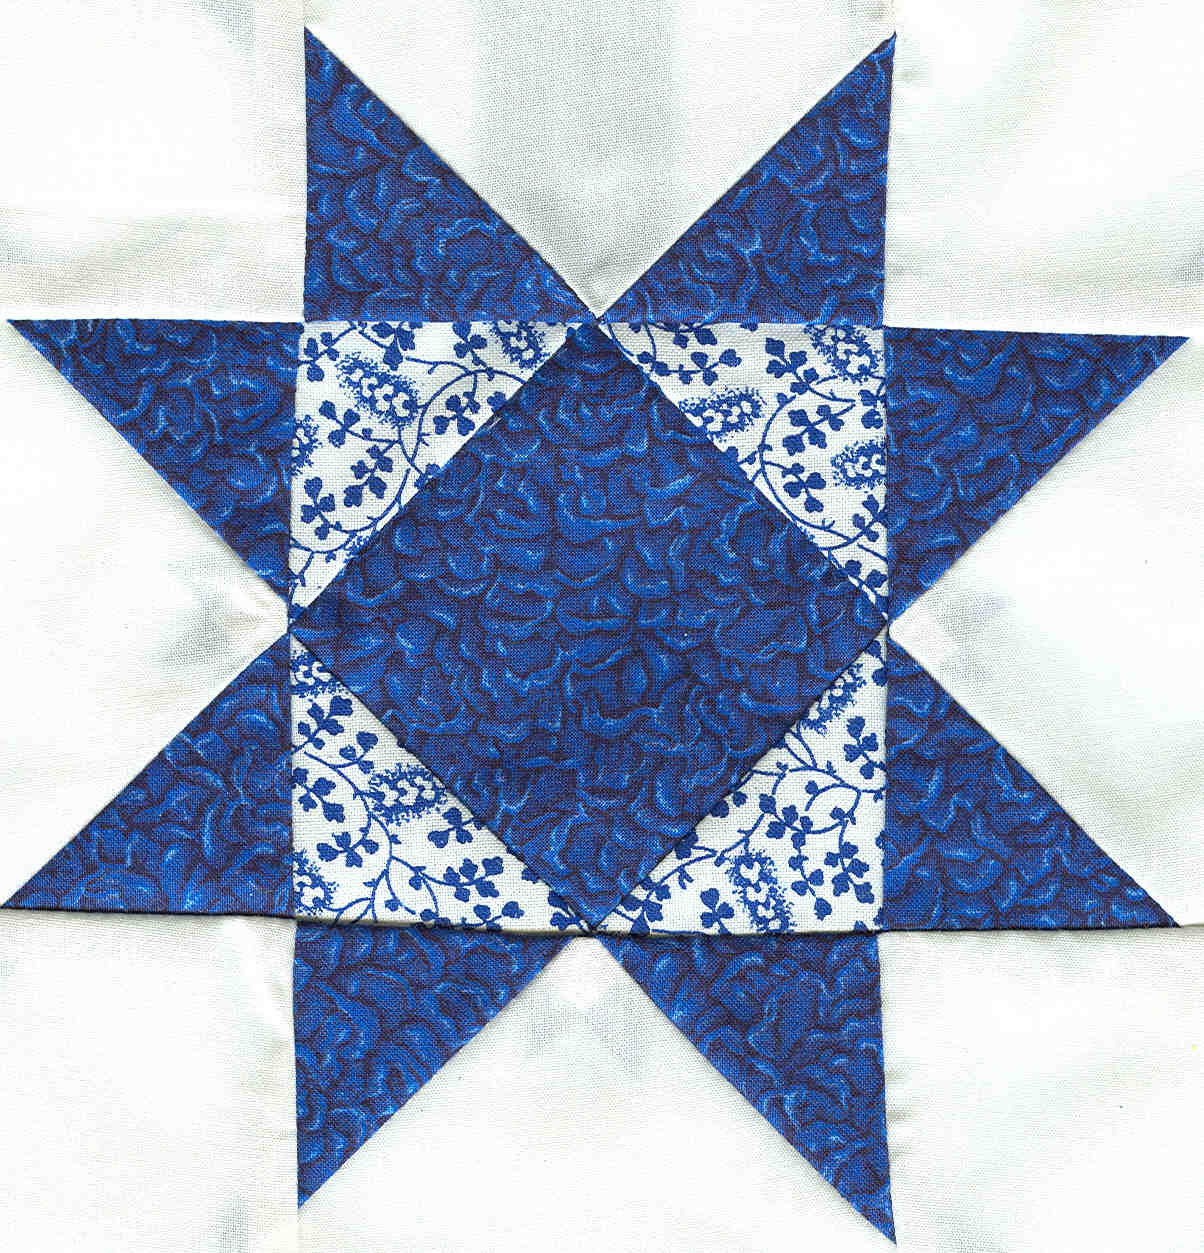
I finally finished making 50 Ohio Star blocks for the border around my sister's Mariner's Compass on the quilt that we are making together for our mother. I am very pleased with the outcome. Sadly, this picture does not show the colors as well as I'd like. Now Mary needs to add a couple of large plain borders to get the finished top to the correct size for a double bed. Oh, yes, and then she gets to quilt it on her longarm quilting machine.
Tuesday, July 20, 2010
Mom's Mariner's Compass Quilt
One day a few months ago, my mom was talking with my sister on the phone, and Mom said that she'd like to have a quilt made for her bed. Mary immediately said, "Sure, I can do that." Then later I mentioned that we could make one together - sort of a round robin between the two of us.
Last week Mary came down for a visit and brought her finished center for me to add on to. It's a very beautiful Mariner's Compass surrounded by flying geese in a circle with appliqued vines around that. She finished this center with a plain border of 4 different shades of pinks and purples.
I've decided to add a border of 4" Ohio Stars around her center. Each star will be a different combination of purples and pinks with light green centers. In order to accommodate this star border, I need to add a very thin 3/4" border around the existing center panel. I auditioned several different greens and have decided on using this shade of green as shown in the last picture. Unfortunately, I don't think there is enough of this fabric to make the complete border. I guess that means I'll have to visit a fabric shop while I'm in Northern Illinois next week visiting my son and his family ;-)
Last week Mary came down for a visit and brought her finished center for me to add on to. It's a very beautiful Mariner's Compass surrounded by flying geese in a circle with appliqued vines around that. She finished this center with a plain border of 4 different shades of pinks and purples.
I've decided to add a border of 4" Ohio Stars around her center. Each star will be a different combination of purples and pinks with light green centers. In order to accommodate this star border, I need to add a very thin 3/4" border around the existing center panel. I auditioned several different greens and have decided on using this shade of green as shown in the last picture. Unfortunately, I don't think there is enough of this fabric to make the complete border. I guess that means I'll have to visit a fabric shop while I'm in Northern Illinois next week visiting my son and his family ;-)
Thursday, June 17, 2010
Cutting men's shirts for quilting fabric
Recently on Bonnie Hunter's Quiltville Chat group on Yahoo, there has been some discussion on how to cut up men's 100% cotton shirts for quilting fabric. Everyone seems to have their own personal preferences on how to do this. I like to cut them so that I get the most usable fabric that I can from each shirt. So my process is to cut off all of the seams and use everything else including the cuffs, collars, and button plackets. The most fabric comes from the sleeves, fronts and backs.
I use the small pieces from the button plackets for my 3" log cabin blocks which have 17 logs in each block. Since these blocks use such small bits of fabric, I can easily use the little pieces from the button plackets. The pieces from the cuffs and collars are great for making string blocks. I made a beautiful Virginia Bound quilt using primarily fabrics from collars and cuffs.
This morning we had a power outage, so I took a couple of shirts outside on the covered deck and cut them up for fabric. The picture on the left shows the cut off seams that I discarded. It's actually only a large handful of seams and old interfacings.
The photo above shows the results of my cutting session - the large fabric pieces from the fronts, back, and sleeves are on the left; and the collar pieces, cuffs, yokes, and button placket pieces on the right.
I use the small pieces from the button plackets for my 3" log cabin blocks which have 17 logs in each block. Since these blocks use such small bits of fabric, I can easily use the little pieces from the button plackets. The pieces from the cuffs and collars are great for making string blocks. I made a beautiful Virginia Bound quilt using primarily fabrics from collars and cuffs.
This morning we had a power outage, so I took a couple of shirts outside on the covered deck and cut them up for fabric. The picture on the left shows the cut off seams that I discarded. It's actually only a large handful of seams and old interfacings.
The photo above shows the results of my cutting session - the large fabric pieces from the fronts, back, and sleeves are on the left; and the collar pieces, cuffs, yokes, and button placket pieces on the right.
Tuesday, April 27, 2010
Carolina Christmas Borders and Basting
The pieced border that Bonnie Hunter designed for this quilt is absolutely perfect. The border really sets off the quilt very well! I was quite surprised that the border went together so easily. I was very careful in my measurements, pressed and trimmed each block to the exact size before stitching it together. The extra care made all the difference. The border blocks fit together perfectly and attached to the inner border exactly as they were supposed to fit.
The quilting step that I really dislike doing is the basting. However, since I adopted the method used by Sharon Schamber, basting has become much less of a hassle. You can find Sharon's basting videos on You Tube. There are 2 videos to watch which are easy to follow.
http://www.youtube.com/watch?v=bhwNylePFAA
Now that my basting is finished, it's time to start the quilting on my Elna Pro Quilter's Dream.
Monday, April 26, 2010
Carolina Christmas
Last week I took out the blocks that I made after Christmas for the Bonnie Hunter Mystery called Carolina Christmas. After laying the blocks out on the floor, I realized just how gigantic that quilt was going to be. I really didn't want another huge quilt, so I rearranged the blocks to make 2 large snuggle-on-the-couch quilts. I think these twin quilts will be nice to use in our 5th wheel when watching TV on cold nights.
Now that I have the blocks sewn together, it's time to start working on the borders. Bonnie designed a patchwork border that I think I'm going to try. I've never done a pieced border so this will be a new adventure and learning experience for me. I just hope I can get the border to fit since I changed the large quilt into two smaller ones.
Tuesday, April 13, 2010
Carrying Case for Hope
The carrying case for my 1936 Featherweight, Hope, does not have a carrying handle. Some previous owner tried to refurbish the outside of the case by removing the black covering. I suppose the old owner didn't know what to do after that; therefore, nothing was done, and the case is down to bare wood. I definitely didn't want to fool with the outside of the case, and the inside of the case is in very good condition. So, I found a pattern on the Internet to make a cloth carrying case that the old wooden case would simply slip into. I wasn't particularly pleased with the pattern. I found it to be hard to follow. The diagrams and cutting directions were not clear, so I made some of my own modifications and am basically pleased with the outcome. At least now I can easily pick up and carry my Featherweight.
Subscribe to:
Posts (Atom)